
Materials:
1 piece of wood trim (1.5 inches x 8 feet)
miter saw
wood glue
wood clothespin (mini)
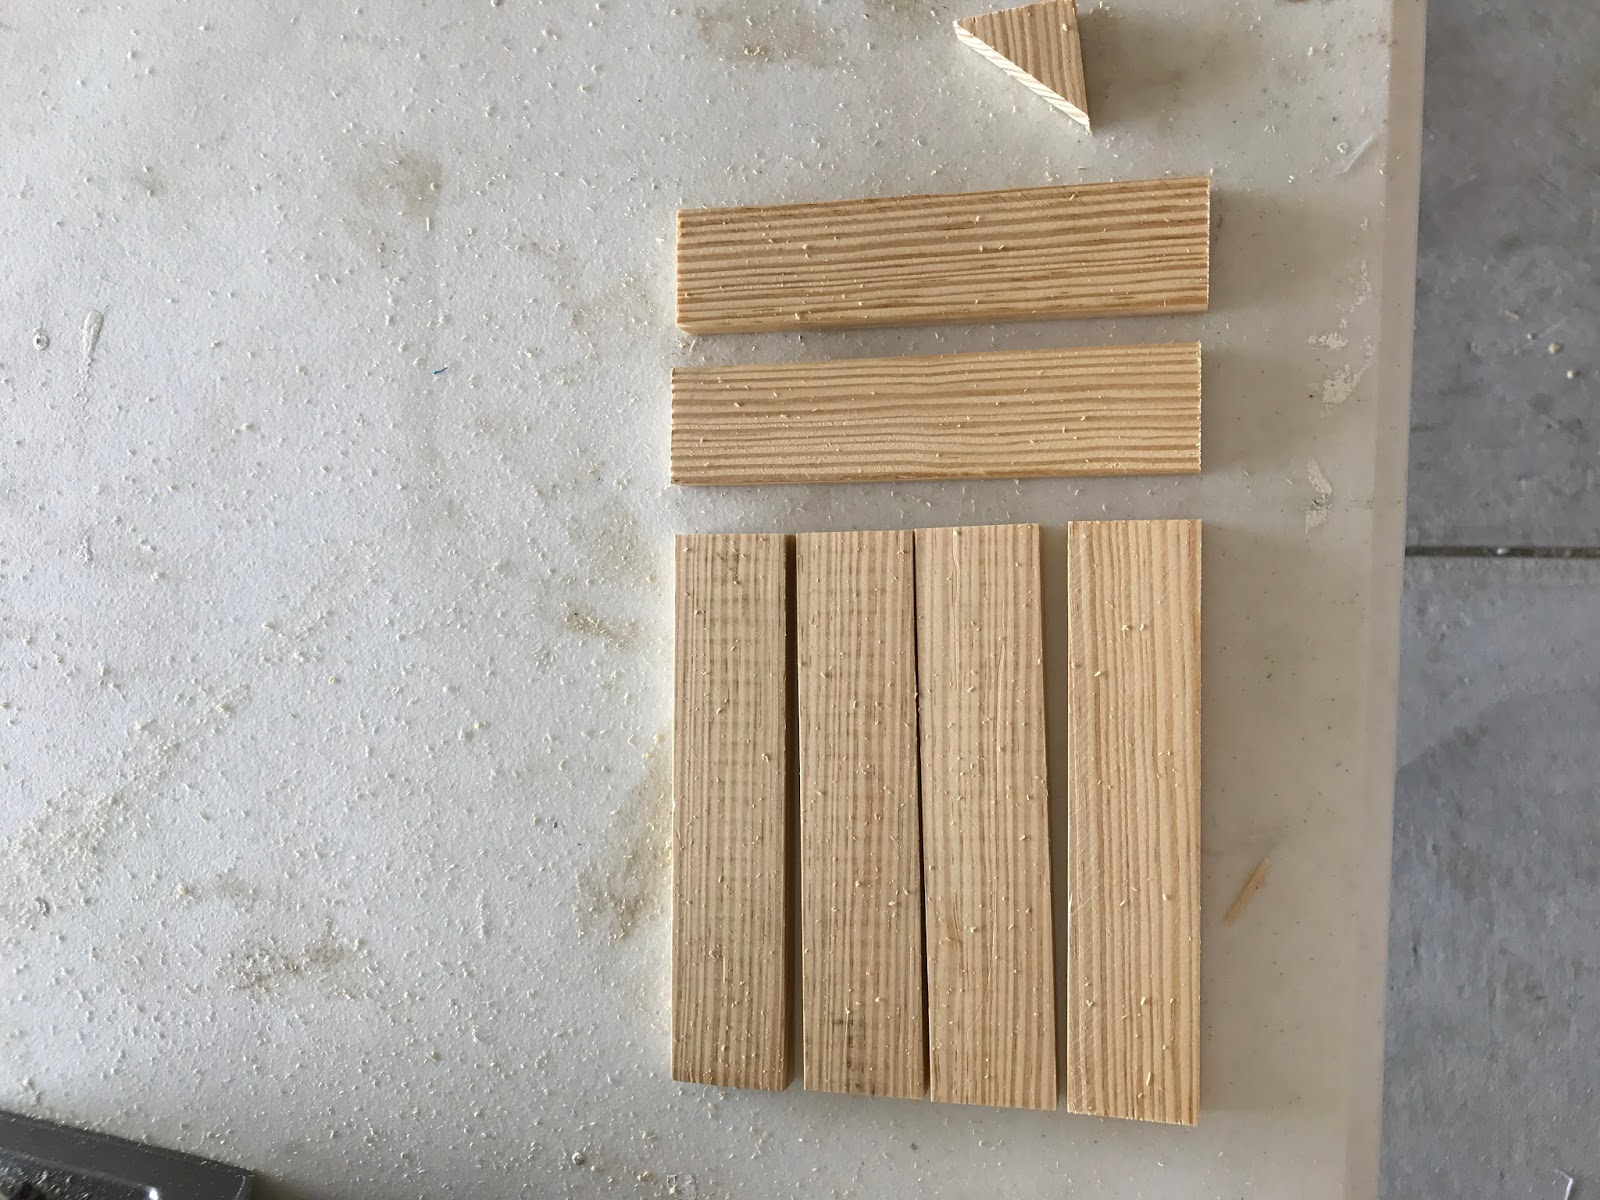
Step 1: Cut the wood into sections. (You can get 2 signs out of one piece of wood trim)
Cut:
4 pieces measuring 7"
2 pieces measuring 6.5"
1 piece (cut at a 45 degree angle) triangle shaped


Step 2:
Glue pieces together
The 2 smaller pieces (6.5") will be the slats that act as the base. Place them on a table the distance they will be from each other and add the wood glue. Start with the top and bottom slat and then space the other two in. Let it sit for a good 20 minutes before moving on to the next step.


Step 3: Glue base on
Use the little triangle piece as your base. Apply wood glue to one side of the triangle. When you place it, make sure you don't place it even with the base of the sign, it won't lean back on it if you do.


Step 4: Decorate!
This is the fun part. You can decorate however you want. Some of my students painted bright colors, some did graffiti style paint splashes. They all turned out so great.


Step 5: Add clothespin
Once the paint has dried, add your clothespin using wood glue. Let it dry and voila! You are done!

No comments:
Post a Comment